

How Posture Affects Neck and Shoulder Health
Meet Sarah, a middle-aged office worker who, like many of us, spends most of her workday sitting at a desk, typing away on a computer. Over the years, Sarah started experiencing persistent neck and shoulder pain that gradually began to affect her quality of life. Little did she know that her posture was a major part of the problem.
This is the story of how Sarah’s journey to better posture relieved her neck and shoulder pain and improved her overall well-being.
The Postural Predicament
Sarah’s days at the office involved long hours spent hunched over her computer engrossed in her work. Her posture was far from ideal, and she rarely paid attention to how she sat or the position of her neck and shoulders. Like many individuals in sedentary jobs, she was unaware of the consequences poor posture could have on her health.
The Painful Wake-Up Call
One day, Sarah began to experience nagging neck pain that radiated into her shoulders. At first, she dismissed it as stress-related tension, but the discomfort persisted. Evenings were no longer enjoyable as the pain in her neck and shoulders made it challenging to relax or engage in her favorite activities. It was a wake-up call that something needed to change.
Seeking Professional Help
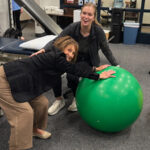
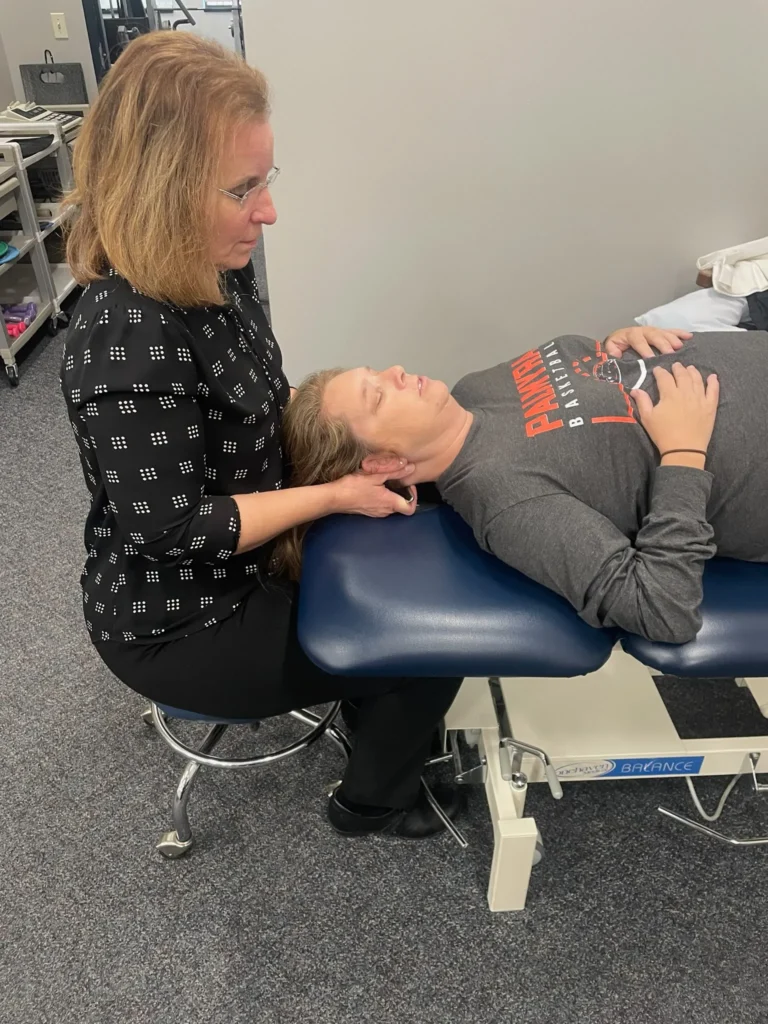
Frustrated with the persistent pain, Sarah decided to consult one of our skilled physical therapists at Priority Physical Therapy, who specialized in postural issues and musculoskeletal health. Her therapist began by comprehensively assessing her medical history as well as Sarah’s posture and movement capabilities.
Understanding the Impact of Poor Posture
Her physical therapist explained to Sarah how her poor posture was contributing to her neck and shoulder pain. Sitting for prolonged periods with her shoulders slouched forward and her head tilted down had placed excessive strain on her neck and shoulder muscles. The therapist also noted that her spine’s natural curvature was affected, further contributing to her pain.
The Treatment Plan at Priority Physical Therapy
Sarah’s physical therapist developed a tailored treatment plan to address her posture-related issues. The program incorporated various techniques and treatments commonly used by physical therapists to improve posture:
- Postural Education: The therapist educated Sarah about maintaining proper alignment during everyday activities. She learned to sit and stand with a straight back, aligning her head with her spine.
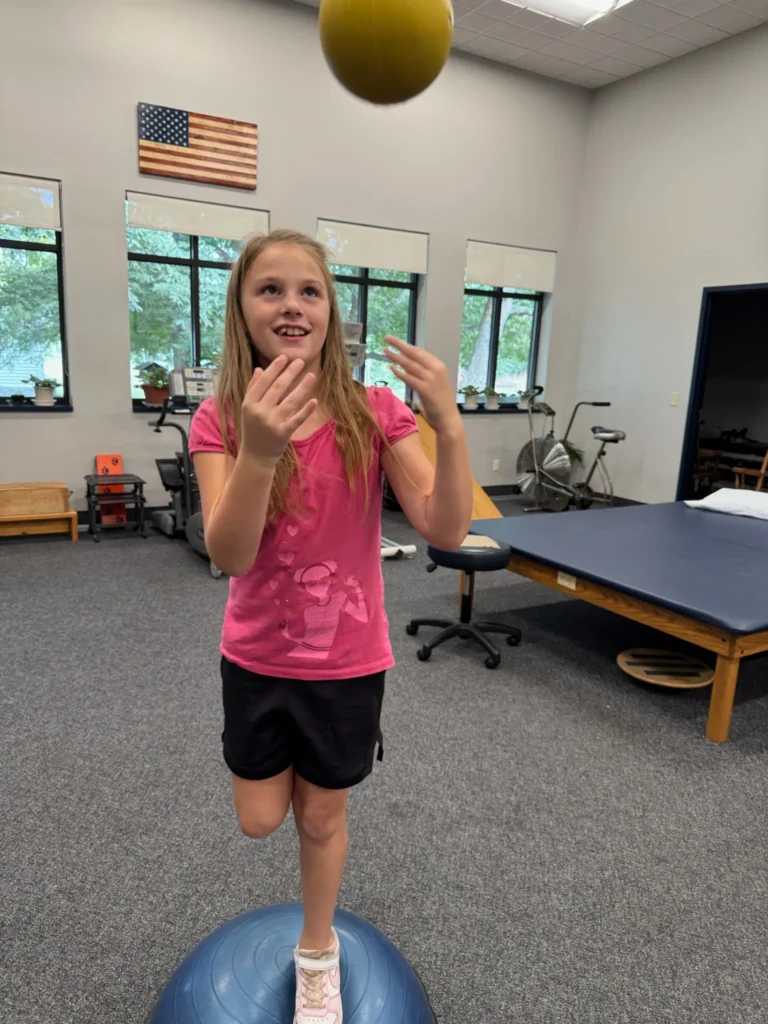
- Exercises: Sarah was given a set of exercises to strengthen her neck, upper back, and core muscles while stretching tight muscles. These exercises were designed to address muscle imbalances contributing to her poor posture.
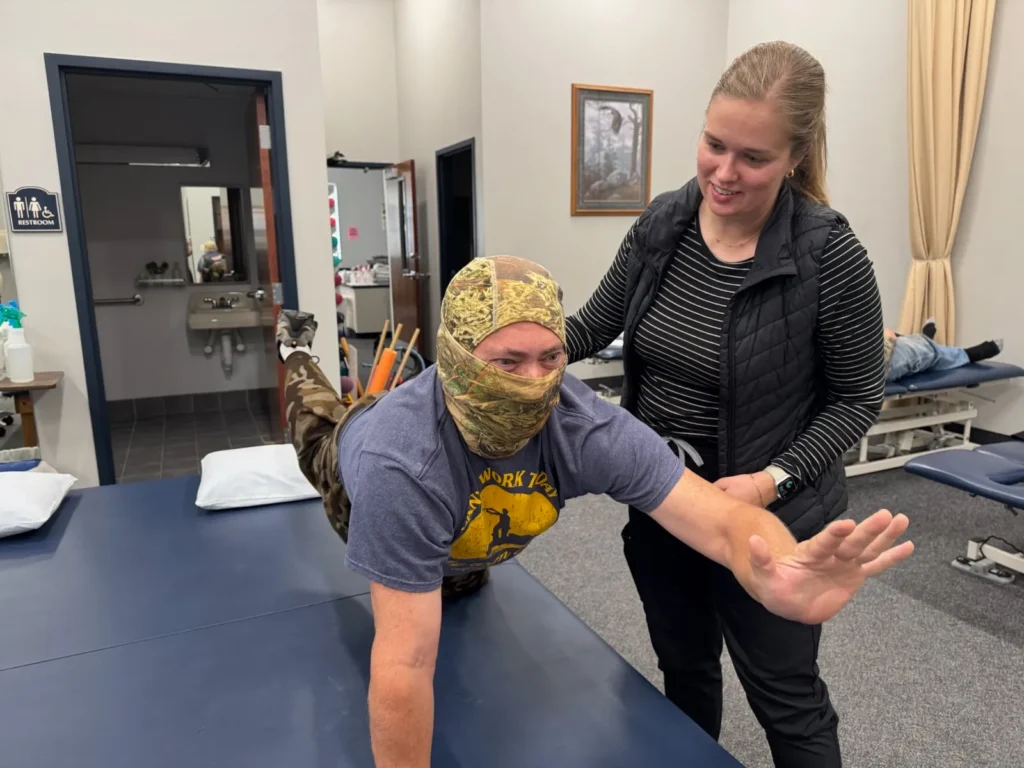
- Manual Therapy: During therapy sessions, her physical therapist used manual techniques to mobilize Sarah’s spine and alleviate muscle tension. These hands-on interventions helped improve joint mobility and relieve pain.
- Ergonomic Assessment: The therapist provided Sarah with recommendations for her workplace setup and how to make adjustments to promote better posture.
Sarah’s journey to better posture was not without its challenges. It required commitment, consistency, and a willingness to change her daily routine. However, over time, she began to experience significant improvements.
As Sarah diligently followed her exercise routine and ergonomic recommendations, her neck and shoulder pain gradually subsided. She felt more alert and focused at work, which increased productivity. Her improved mood and reduced stress levels were additional benefits of her posture-enhancing journey.

Take Action Today for Better Posture and Health
Sarah’s success story serves as a valuable reminder of how posture affects neck and shoulder health. Poor posture can lead to a variety of musculoskeletal issues, especially in office workers who spend extended hours sitting at desks. However, individuals like Sarah can significantly improve their posture and overall well-being with the right guidance and a commitment to change. If you are struggling with neck or shoulder pain, give Priority Physical Therapy a call and schedule a consultation to get the relief you deserve!
Achieving the Ideal Posture: A Roadmap to Optimal Alignment
As soon as someone says the word posture, people straighten right up, only to slump back down in a matter of minutes. Unfortunately, there are also a lot of misunderstandings about what “good” posture is.
At Priority Physical Therapy, we understand that your “ideal” posture is based on your unique characteristics and life situation. Rather than compare you to someone else, we’ll help you find the posture that creates harmony and balance in your body.
Here’s an overview of what to strive for with posture:
- Head: Your head should be positioned over the spine. This helps maintain the natural curvature of the cervical spine (i.e., the neck), ensures the head is neither leaning too far forward nor tilting backward, and prevents undue strain.
- Shoulders: Your shoulders should be gently pulled back and relaxed, not slouched forward. This posture opens the chest, allowing unrestricted breathing and optimal circulation.
- Spine: The spine exhibits three primary curves: cervical (neck), thoracic (mid-back), and lumbar (lower back). Good posture ensures these curves remain intact, avoiding excessive arching or rounding.
Our therapists will develop a personalized plan tailored to your unique needs based on the assessment. This plan may include exercises, stretches, and techniques to address specific posture-related challenges.
Embrace Your Journey to Ideal Posture Today for a Healthier Tomorrow
Ideal posture is about alignment, balance, and harmony within your body. Our therapists are your partners, helping you identify your unique ideal posture and providing the guidance and support needed to attain it. Call today to set up a consultation with one of our specialists!
Recipe of the Month: Chicken Pot Pie

Ingredients:
- 4 tablespoons unsalted butter, divided
- 1 cup finely diced yellow onion (about 1 small to medium onion)
- 1 cup peeled, finely diced carrot (about 2 large carrots)
- 1 cup finely diced celery (about 2 stalks)
- 1 teaspoon kosher salt, plus more to taste
- 1/4 teaspoon freshly ground black pepper, plus more to taste
- 2 cloves garlic, minced
- 1/4 cup all-purpose flour
- 2 cup whole-milk
- 1 tablespoon chicken-flavored Better Than Bouillon
- 2 cup chopped cooked chicken, preferably a mix of white and dark meat
- 3/4 cup frozen green peas
- 2 tablespoons roughly chopped flat-leaf parsley
- 1/2 teaspoon finely chopped thyme
- 2 1/4 sticks unsalted butter, cold
- 2 cup all-purpose flour
- 1/3 cup whole-wheat flour
- 1 1/2 teaspoon kosher salt
- 1 teaspoon granulated sugar
- 1/2 teaspoon freshly ground black pepper
- 6 tablespoons very cold water
Instructions:
- Melt 3 tbsp butter in a large sauté pan over medium heat. Add onion, carrot, celery, salt, and pepper. Cook ~12 min, stirring occasionally, until soft and starting to brown. Add garlic and cook 1 min. Reduce heat slightly, add 1 tbsp butter and melt, then stir in flour and cook 1 min. Gradually add milk in splashes, stirring until smooth after each addition. Stir in chicken bouillon and cook ~5 min, stirring constantly, until thick and simmering. Add chicken and peas; cook a few more minutes. Remove from heat, stir in herbs, and adjust seasoning.
- Let filling cool to lukewarm, then refrigerate in an airtight container until fully cold. This ensures a crispy crust.
- Cut butter into tablespoons and chill. In a stand mixer, combine flours, salt, sugar, and pepper. Mix briefly, then add butter and mix until pieces are chickpea-sized. Slowly add water until dough forms clumps. Stop mixing once it holds when squeezed. (Alternatively, mix by hand.) Divide dough into two discs—one slightly larger. Wrap and chill at least 2 hours.
- Preheat oven to 425°F. Roll out larger dough into a 12-inch circle and place in a 9-inch pie pan. Roll out smaller dough to 10–11 inches. Add cold filling to the pan, top with dough, and trim to ¾-inch overhang. Fold and crimp the edges. Cut 4 slits in the top. Place on a rimmed sheet pan.
- Bake 65–70 minutes, rotating halfway, until crust is deeply golden. Cool at least 30 minutes before serving. Slice into big wedges and enjoy warm.

Use Your 2025 Benefits Before They Expire
As the year winds down, it’s a great time to take advantage of your health insurance benefits. If you’ve already met your deductible, your physical therapy visits at Priority PT may cost little, or even nothing, out of pocket. Many patients are surprised to learn how much they can save on care before benefits reset in January. Whether you’ve been meaning to start therapy or want to continue progress on your recovery, now is the perfect opportunity.
Don’t let your coverage go unused – schedule your appointments today and finish the year strong!
Share Your Success!
The best way to help a small business in the community is by leaving a Google review! We want to help more people. Share your great experience with Priority Physical Therapy and help us heal our neighbors.